


I have installed peel & stick wallpaper more than a few times and I’m telling you, once you finish your first wall you will be hooked! It has the power to transform a space, yet it’s a relatively simple and straightforward process. Worried about the commitment? Don’t be, because peel & stick wallpaper can be removed without a trace, making it the perfect choice to experiment with design without a long-term commitment.
If you haven’t tried wallpaper before, peel & stick is a great option for a beginner. You don’t have to deal with messy glue or special tools, simply peel off the backing and stick it on. You can even remove a panel and adjust it if you make a mistake. As someone who moves a little too fast sometimes, it’s refreshing to know there is room for forgiveness in this process.
Let’s dive into the world of wallpaper and get you confident to tackle this DIY in no time!
Choosing Your Wallpaper
Brand & Quality
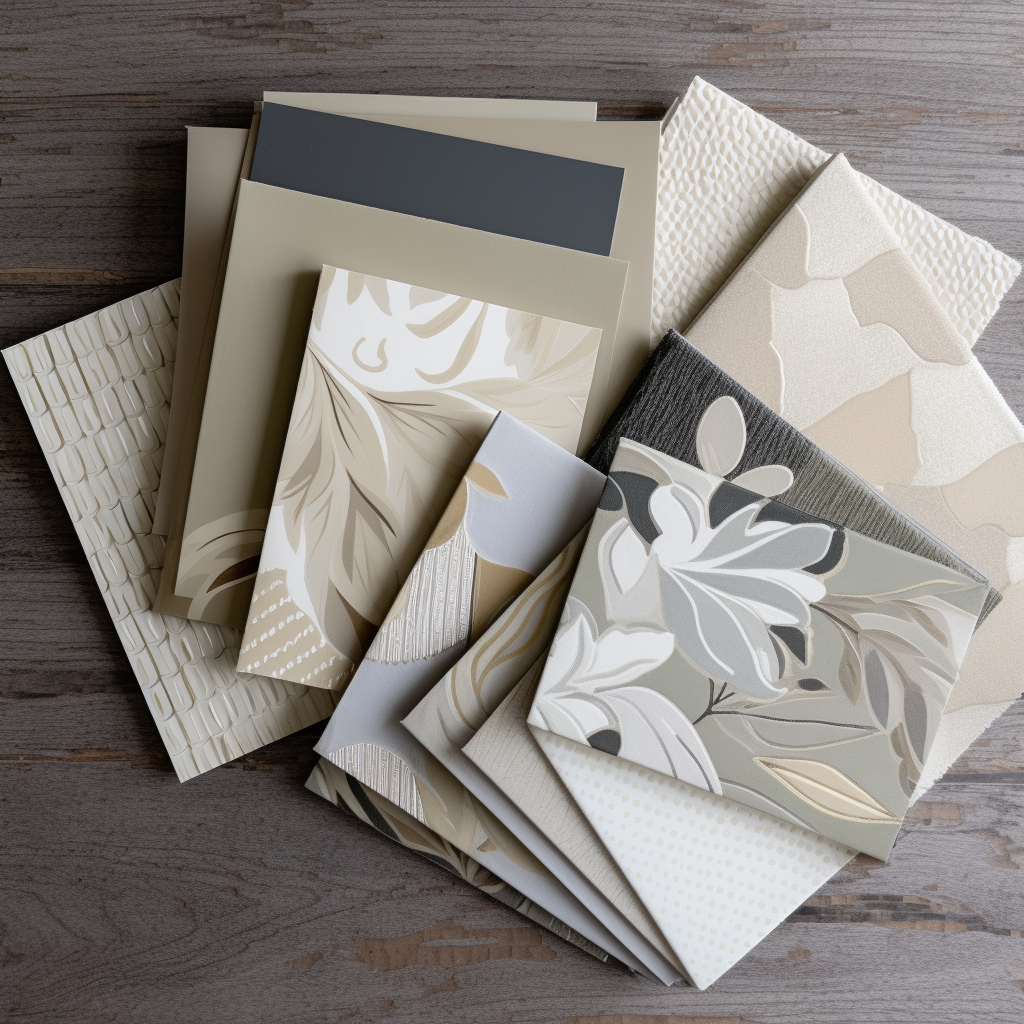
This part might be the easiest or hardest part of the whole process… choosing your wallpaper. Not all brands of peel & stick wallpaper are created equal and you typically get what you pay for. A higher quality product will be priced higher, but it will likely have better adhesion, be a thick and durable material, and the print/pattern repeat will be accurate. Wallblush is my go-to brand. Not only do they have so many beautiful prints, but they also have many sales throughout the year, sometimes up to 50% off!
You will also want to consider the texture of your walls. If you have heavily textured walls, make sure you research products and make sure you select one that will adhere securely. Some peel & stick brands can only be installed on smooth surfaces, so you’ll want to make sure you purchase the appropriate product.
Print & Pattern
The great thing about peel & stick wallpaper is it can be removed without leaving a trace. So you can easily add character, color and personality to a space without a long-term commitment. But that doesn’t mean you want to be spending money on a new print every year. Here are a few design considerations to picking the right pattern:
- The mood of the room. Do you want it to feel bold and vibrant, or subtle and relaxing?
- Color palette: Are you matching the existing room decor or planning a full-on room makeover?
- Theme/style: What design style are you going for? Classic, contemporary, eclectic, etc.?
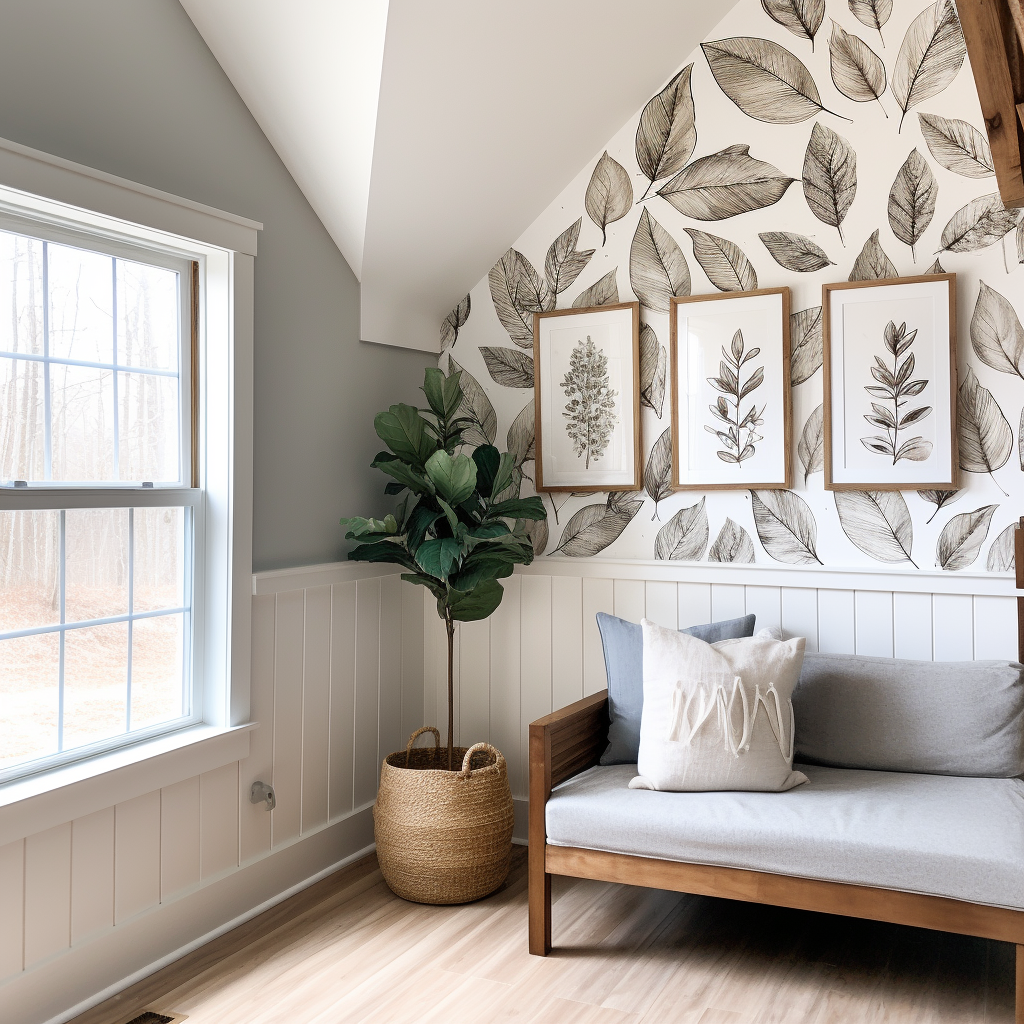
Considering these questions will help you narrow down the selection so you choose the perfect print for your space.
Getting Started
Let’s start with the basics of install. Before you begin, you’ll want to have the following tools and materials:
- Measuring Tape
- Utility Knife or Scissors
- Level
- Pencil
- – Squeegee or Smooth Edge Tool (a credit card will work!)
Prep Your Surface
Ensure your walls are clean, dry, and free from dust or debris. A smooth surface guarantees a flawless application. Remove outlets cover, fixtures (if you can) and any decor on the walls. If you can avoid cutting around wall fixtures, it will be a much easier install.
Line up your panels
If you did not order wallpaper according to your wall measurements, you’ll want to measure the wall height and width to ensure you cut the panels at the appropriate size. I ALWAYS line up the panels to the full wall size to ensure everything lines up correctly. Trust me, you don’t want to get halfway through install and realize the pattern doesn’t line up.
Application

Peel off a strip of backing to get started. Another thing I ALWAYS do is peel off and cut 4-6″ of the backing on the panel. This allows you to stick the panel up flush against the wall and you can stand back and get a look. But don’t just eyeball it, always use a level to make sure the panel is straight.
The install of the first panel is the most critical. If it’s not straight, it will throw off the whole wall. As you move on to the succeeding panels, ensure each strip aligns seamlessly with the previous one. This attention to detail is crucial to the final outcome.

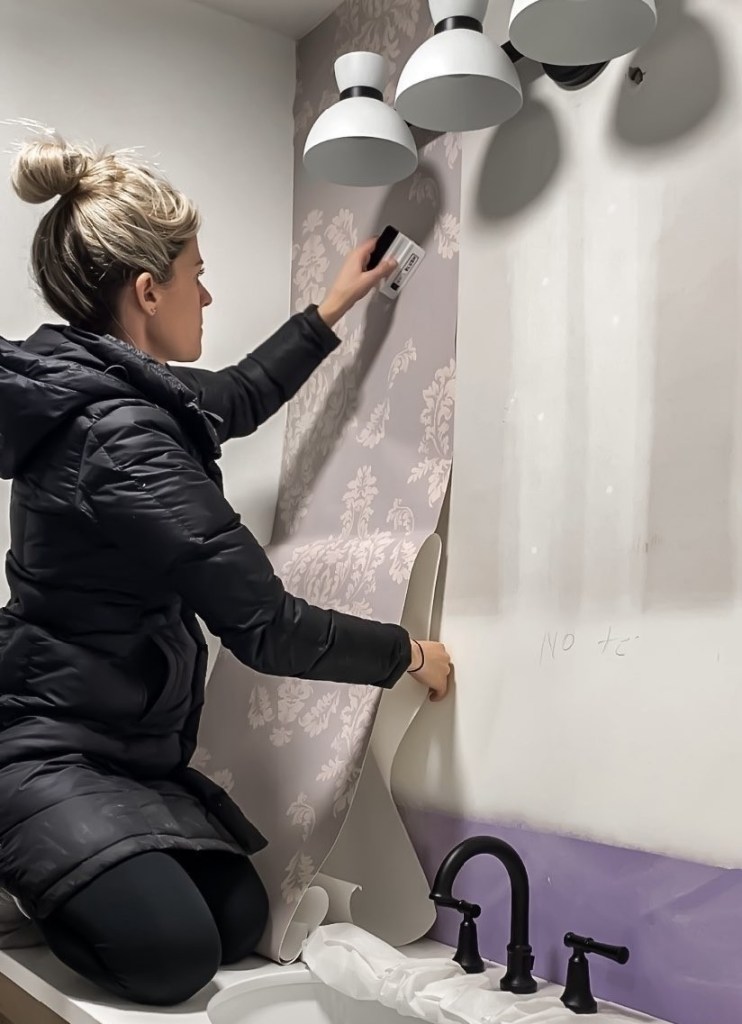
Use a squeegee or a smooth edge tool to remove air bubbles and ensure a tight bond to the wall. I have found if I start in the middle and work my way out it allows me to smooth out any bubbles.
Now all that’s left is to stand back and admire your newly transformed space!

Leave a Reply