


I have this teensy little habit of doing something one time and thinking I’m a pro. Tile a backspash? Pro. Install shiplap. Expert. Install my first LVP. Piece of cake. Well, kind of like a piece of cake that looks delicious on the outside but when you eat it, it’s not that great. Starting the install went great, and then I ran into some problems. Let me be clear, I am not here to say that installing LVP is a difficult thing and you shouldn’t attempt it. On the contrary, it is a very doable DIY and will save you a lot of money if you install it yourself! I am also not giving this advice as an expert installer. PLEASE CONSULT A PRO if you have specific questions. This article is simply to provide that tips I learned during the process, things that I wish I knew ahead of time.
The ABC’s
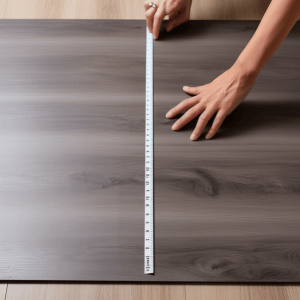
Before you start any project, you want to make sure the prep is done correctly. I am not going to get into too much detail about this, but I do want to share few things before starting. 1.) Ensure the floor is smooth and clean, you have removed and nails or staples and have a level surface. 2.) LVP may need to acclimate for a days before install to adjust the rooms conditions.
3.) Check if you need an underlayment. Many LVPs are made with an underlayment already, but you could opt for an additional layer, particularly if you want a better noise barrier. 4.) Measure the room accurately and plan the layout. Leave gap room on the end to allow for expansion. 5.) Follow the installation instructions as directed. If you have any questions on any steps it is best you consult a professional.
The Wear Layer
Ok, now I am going to get into my tips. The first one being, check the wear layer on the produt before you buy it. This is different than the thickness. The wear layer is the top layer, the protective coating if you will, and this determines the durability of the product. A 6mm wear layer is commonly found on products, but something with a 20mm wear layer, for example, will last longer.
Consider the Wood Tones in Your Home
Consider what wood ones you already have in your home, and how the flooring will compliment them or detract. You may install new flooring and all of a sudden that pine trim, plank ceiling, or oak cabinets look totally different.
Think About Upkeep
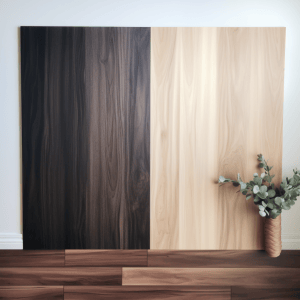
Dirt, scuffs and scratches will be more visible on light colored floors. They will take more time and energy to keep clean verse something darker or with more color variations. If you really love the look of a light-colored floor but are worried about the upkeep, consider something with more color variation to help conceal more wear and imperfections.
Don’t Eyeball the Cuts
If there are any shortcutter out here, this is for you. Trust me, I know from experience. You will have to re-cut and re-fit multiple times which will waste time and materials.
Plan Your Layout
You don’t want to end up with a sliver on the end. Planning your layout will help you avoid small or irregular sized pieces at the edges or in prominent areas. It also ensures the floor has a balanced appearance, is more stable, has a consistent pattern, and minimizes waste by reducing the number of off cuts.
Don’t Use Excessive Force

LVP planks are a tongue and groove join, which means you angle the tongue of one piece into the groove of the second plank and they interlock. At times you need to use a mallet or tool to tighten the connection. Here is the tricky part! If you are too forceful and you chip any of the edges, that piece will no longer fit properly and it becomes a scrap piece. (Pst, this is one reason you should always overorder at least 10% on flooring just to ensure you don’t run out before a project is finished.)
Don’t Ignore the Gaps
As mentioned above, you always want to make sure the joints are connectedly tightly. A properly installed plank will not have a gap. If you try and try and it’s just not closing, keep trying, or remove the piece and try again. They should always be tight. Say that with me now. They should always be tight!! If you have gaps, not only is it visually unattractive and, but moisture could get in between the seams and cause problems down the road. Tight gaps also prevent planks from shifting or dislodging over time. The good news is, if you somehow overstepped tightening a gap, they do make products like this one that can help to close gaps after the flooring has already been laid.
And folks, that’s all I got for you! Again, if you have specific questions, consult a professional. But my hope is that this information will save you some time and effort if you choose to DIY your LVP flooring. If you found it helpful, I’d love to hear below!

Leave a Reply