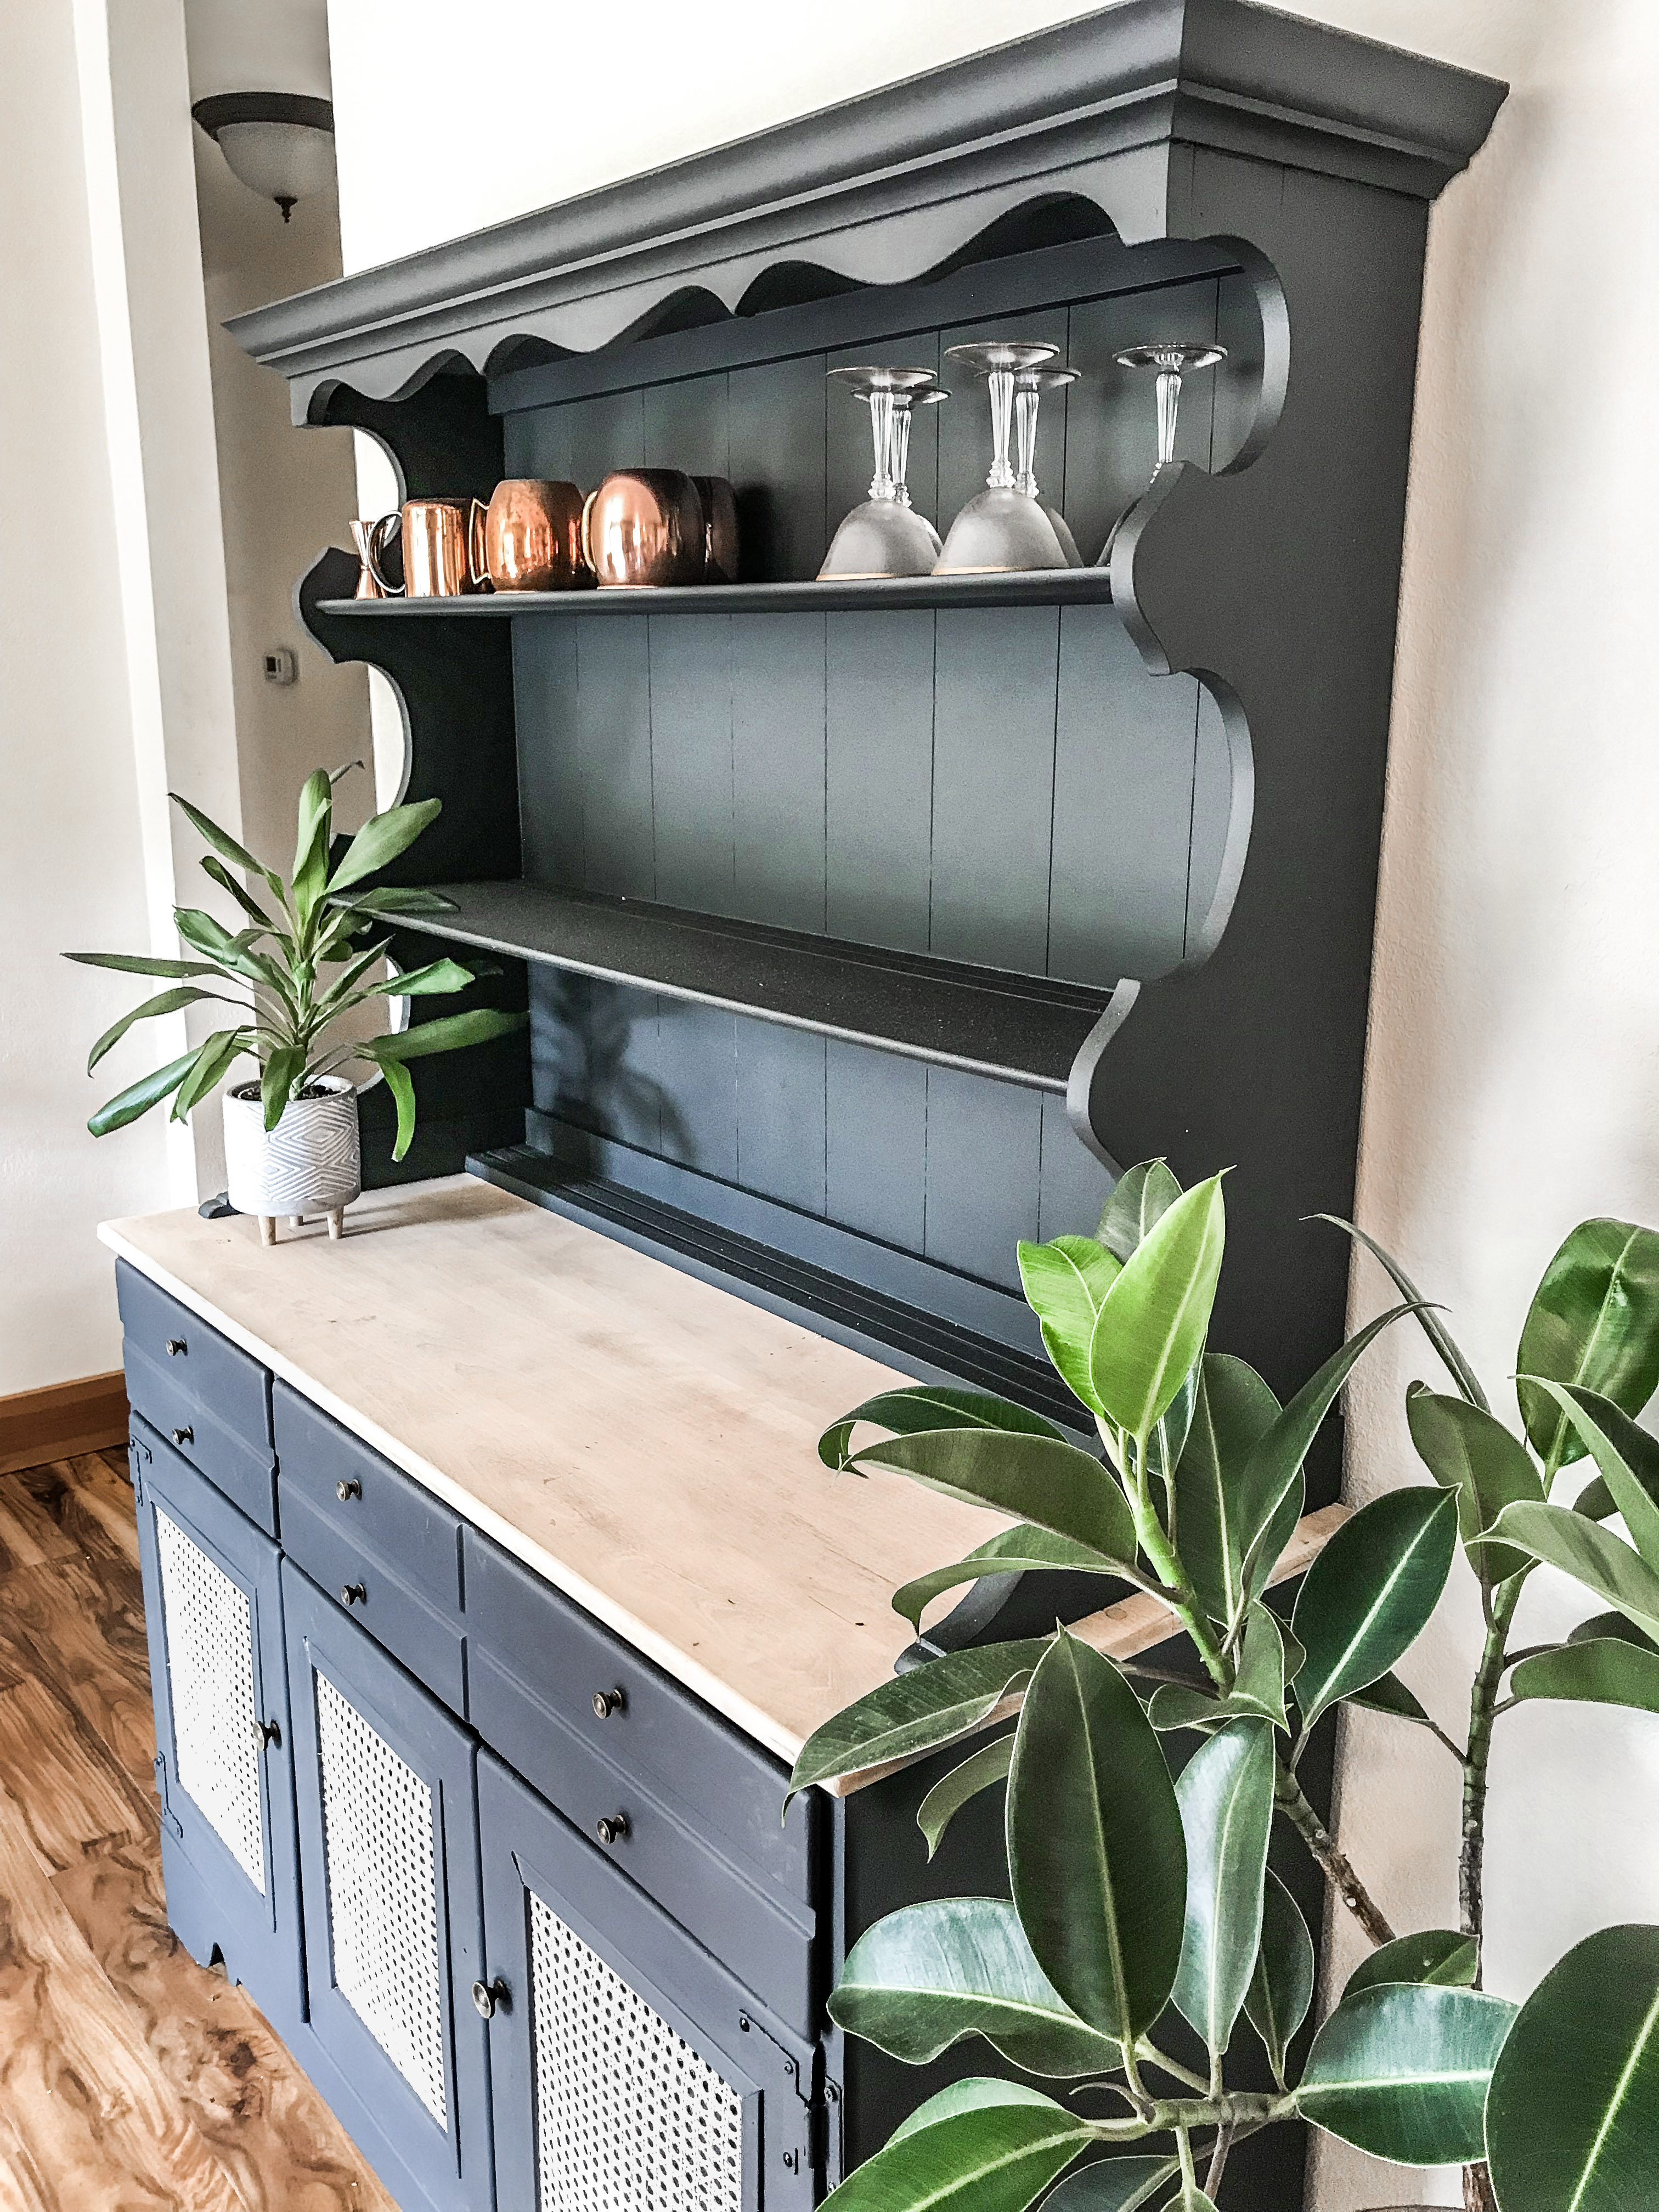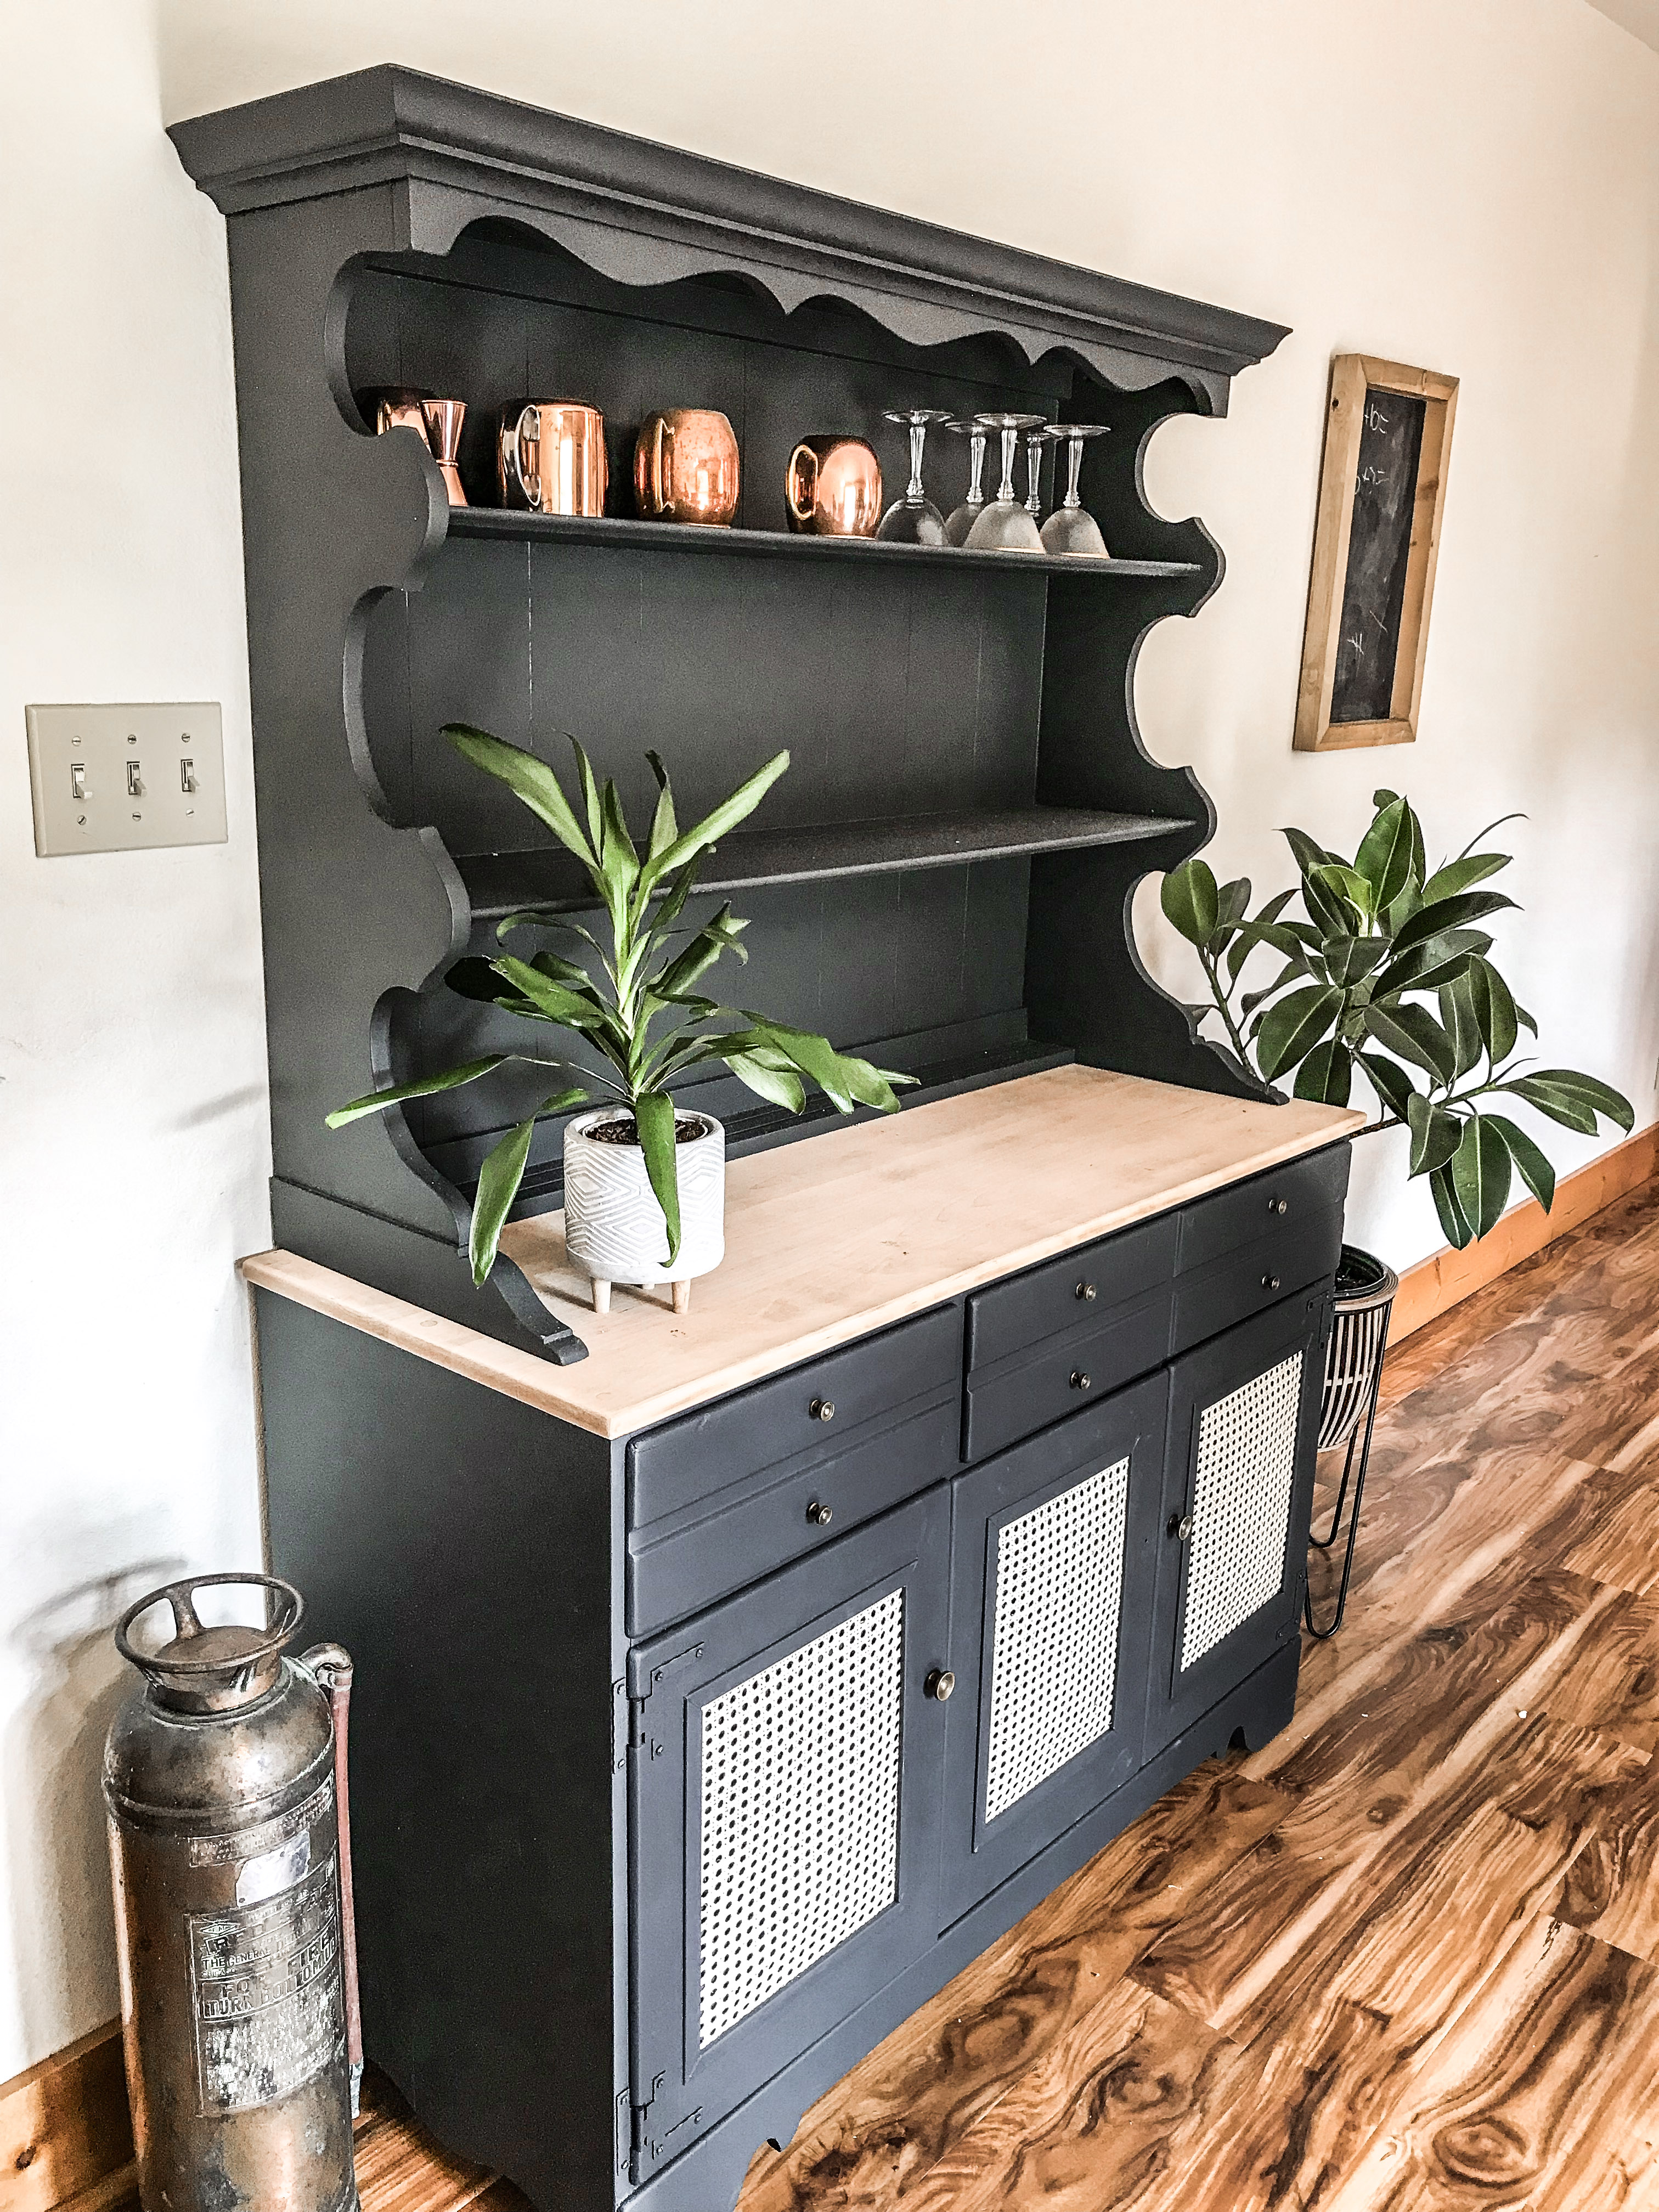

Who loves finding free stuff on the side of the road? Me! It’s a fact, everyone loves free stuff. And I love it even more when I see something with makeover potential. I saw this hutch a few weeks ago while we were heading to the pool and I BEGGED my husband to turn the car around, get his truck and pick it up for me. After come grumbling and eye rolling he finally agreed. And, we still made it to the pool, just a few minutes late. Win win.
I immediately had a vision. I wanted to create a piece that was black with natural wood accents. I have been really into the black and wood combo lately! So after browsing pinterest, I came up with my design idea, and the project was set in motion!
Step 1: Sanding. This is a step I always think I can skip, but after too many failed paint jobs and paint chipping after one day, I know it’s necessary. I use a sander for the big flat sections, then hand sand the crevices and harder to reach areas.
Step 2: Caulk cracks and nail holes. It appears this piece was older and had been outside for some time, so the weather had aged it and created cracks in the shelves. To avoid big gaps and end up with a smooth finish, I caulked all the cracks and nail holes.
Step 3: Paint. I used my trusty Graco True Coat 360 sprayer. Linked here. I have found that using a sprayer vs a paint brush will allow for more even and consistent paint coverage and a nicer finish. The color was a custom match but Iron Ore from Sherwin Williams is almost identical.


Step 4: Create cane webbing cabinet doors. As soon as I saw this piece, I knew I wanted to use cane webbing on the doors. This would add some texture and wood color to break up a big black piece. I ordered a roll of cane from etsy, it was surprisingly expensive. $50 for a 36’x18′ roll. However this Etsy seller was great and shipped it super fast! Linked here. First, I soaked the cane webbing in water. This allows it to be more pliable, rather than dry and brittle. Next, I cut the cane to size. I attached it to the doors using a staple gun.
Since there were staple holes, I then needed to create trim pieces to cover the staples and cane edging. I used 1/2″ trim and cut 45 degree angles to fit the corners together. This is THE best saw for small cuts! Next I painted them black to match the cabinet. I wanted to keep them natural, but seeing as I am a novice woodworked, the cut pieces had some imperfections so that black paint allowed me to hide that. I attached the black trim pieces with a nail gun and used glue as well for a strong hold.
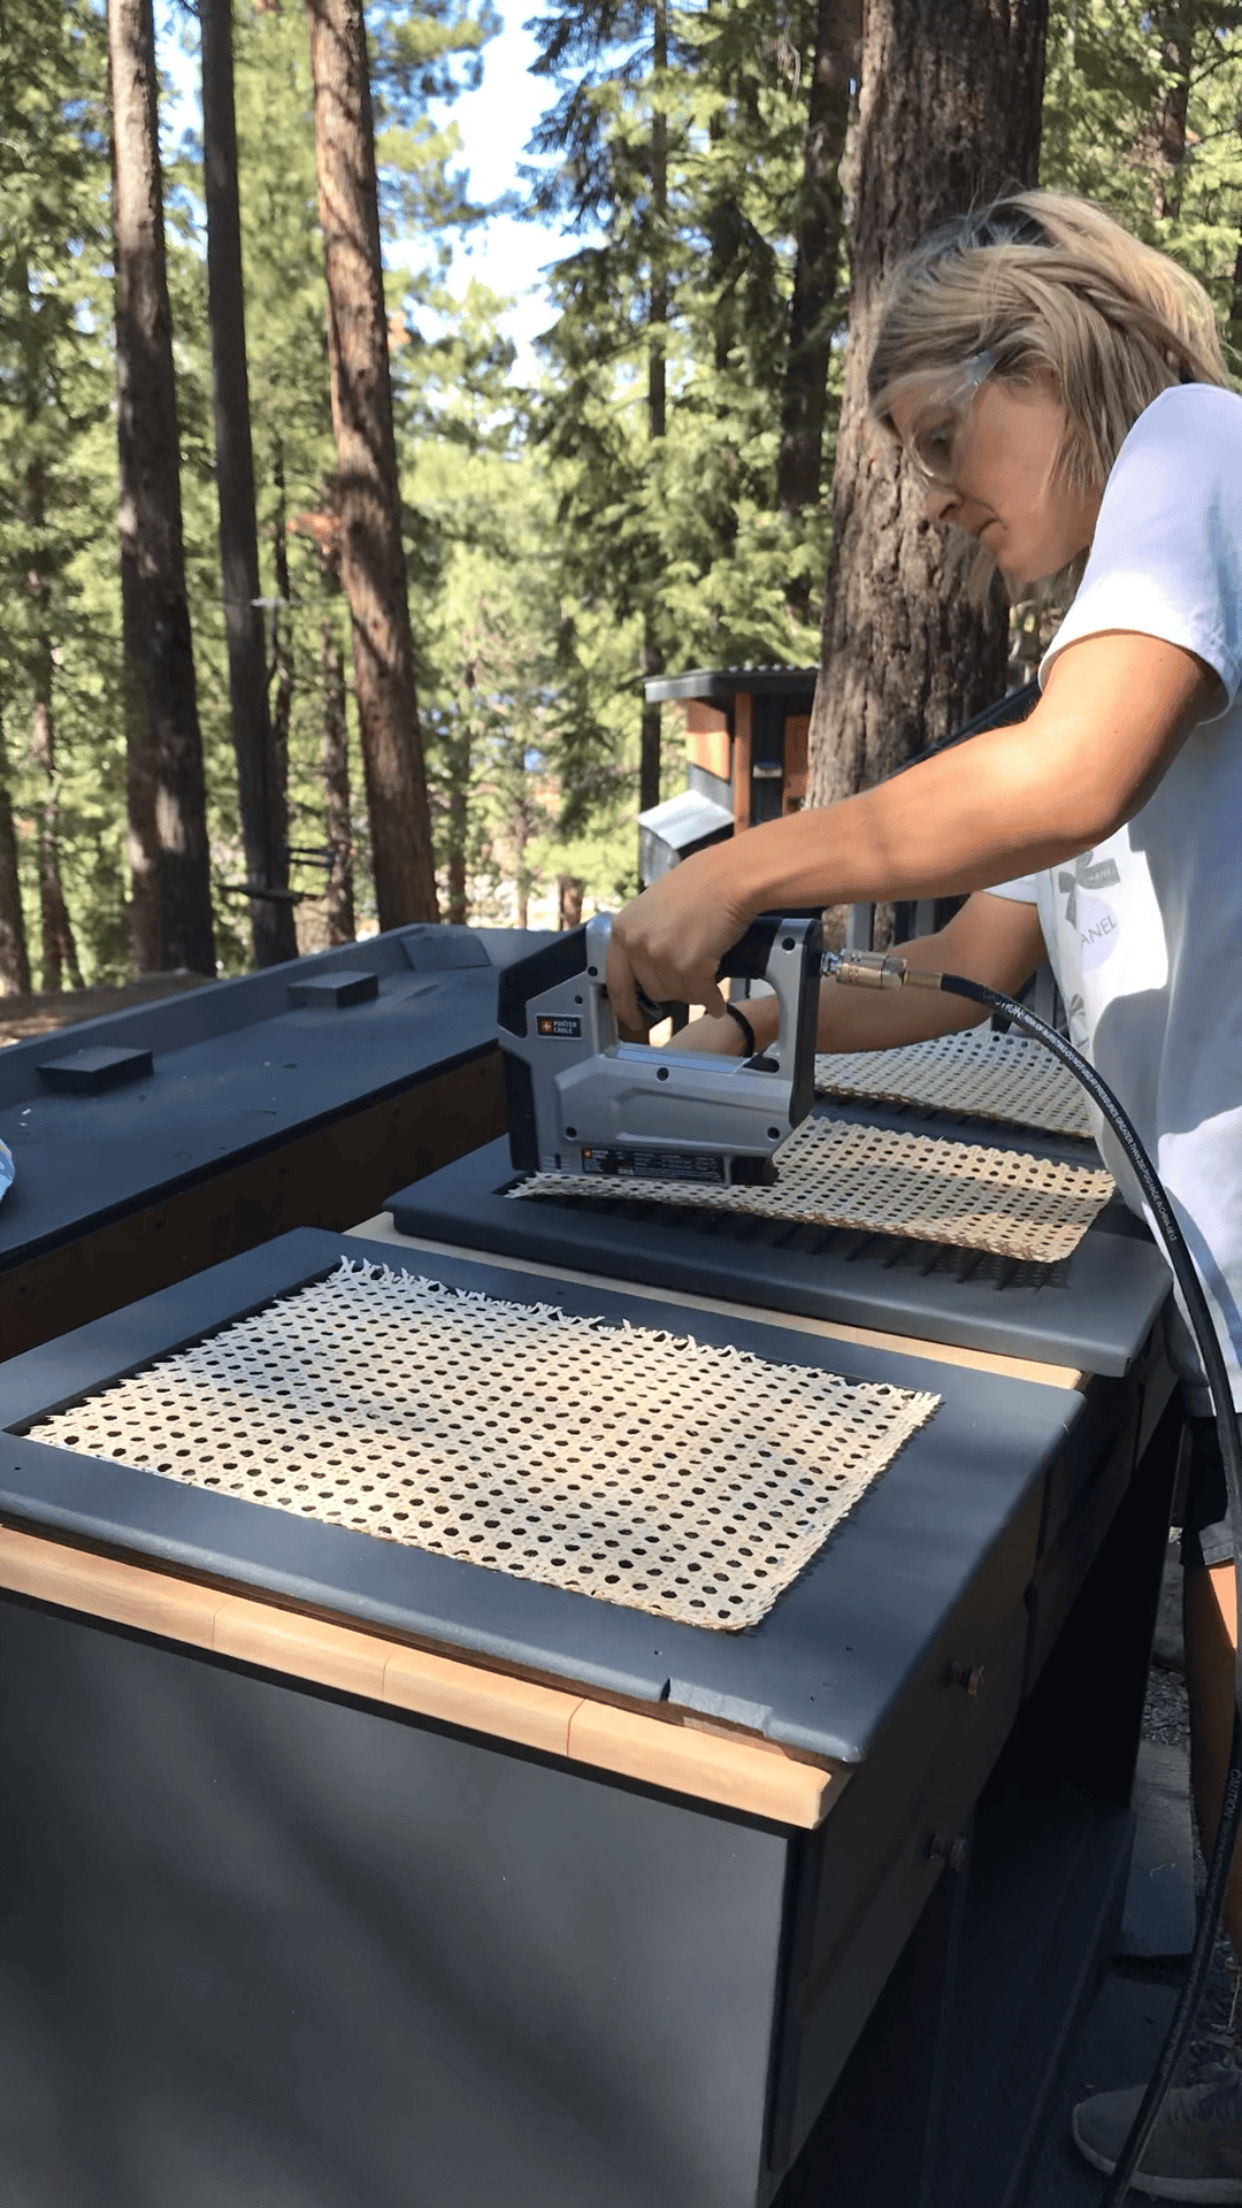
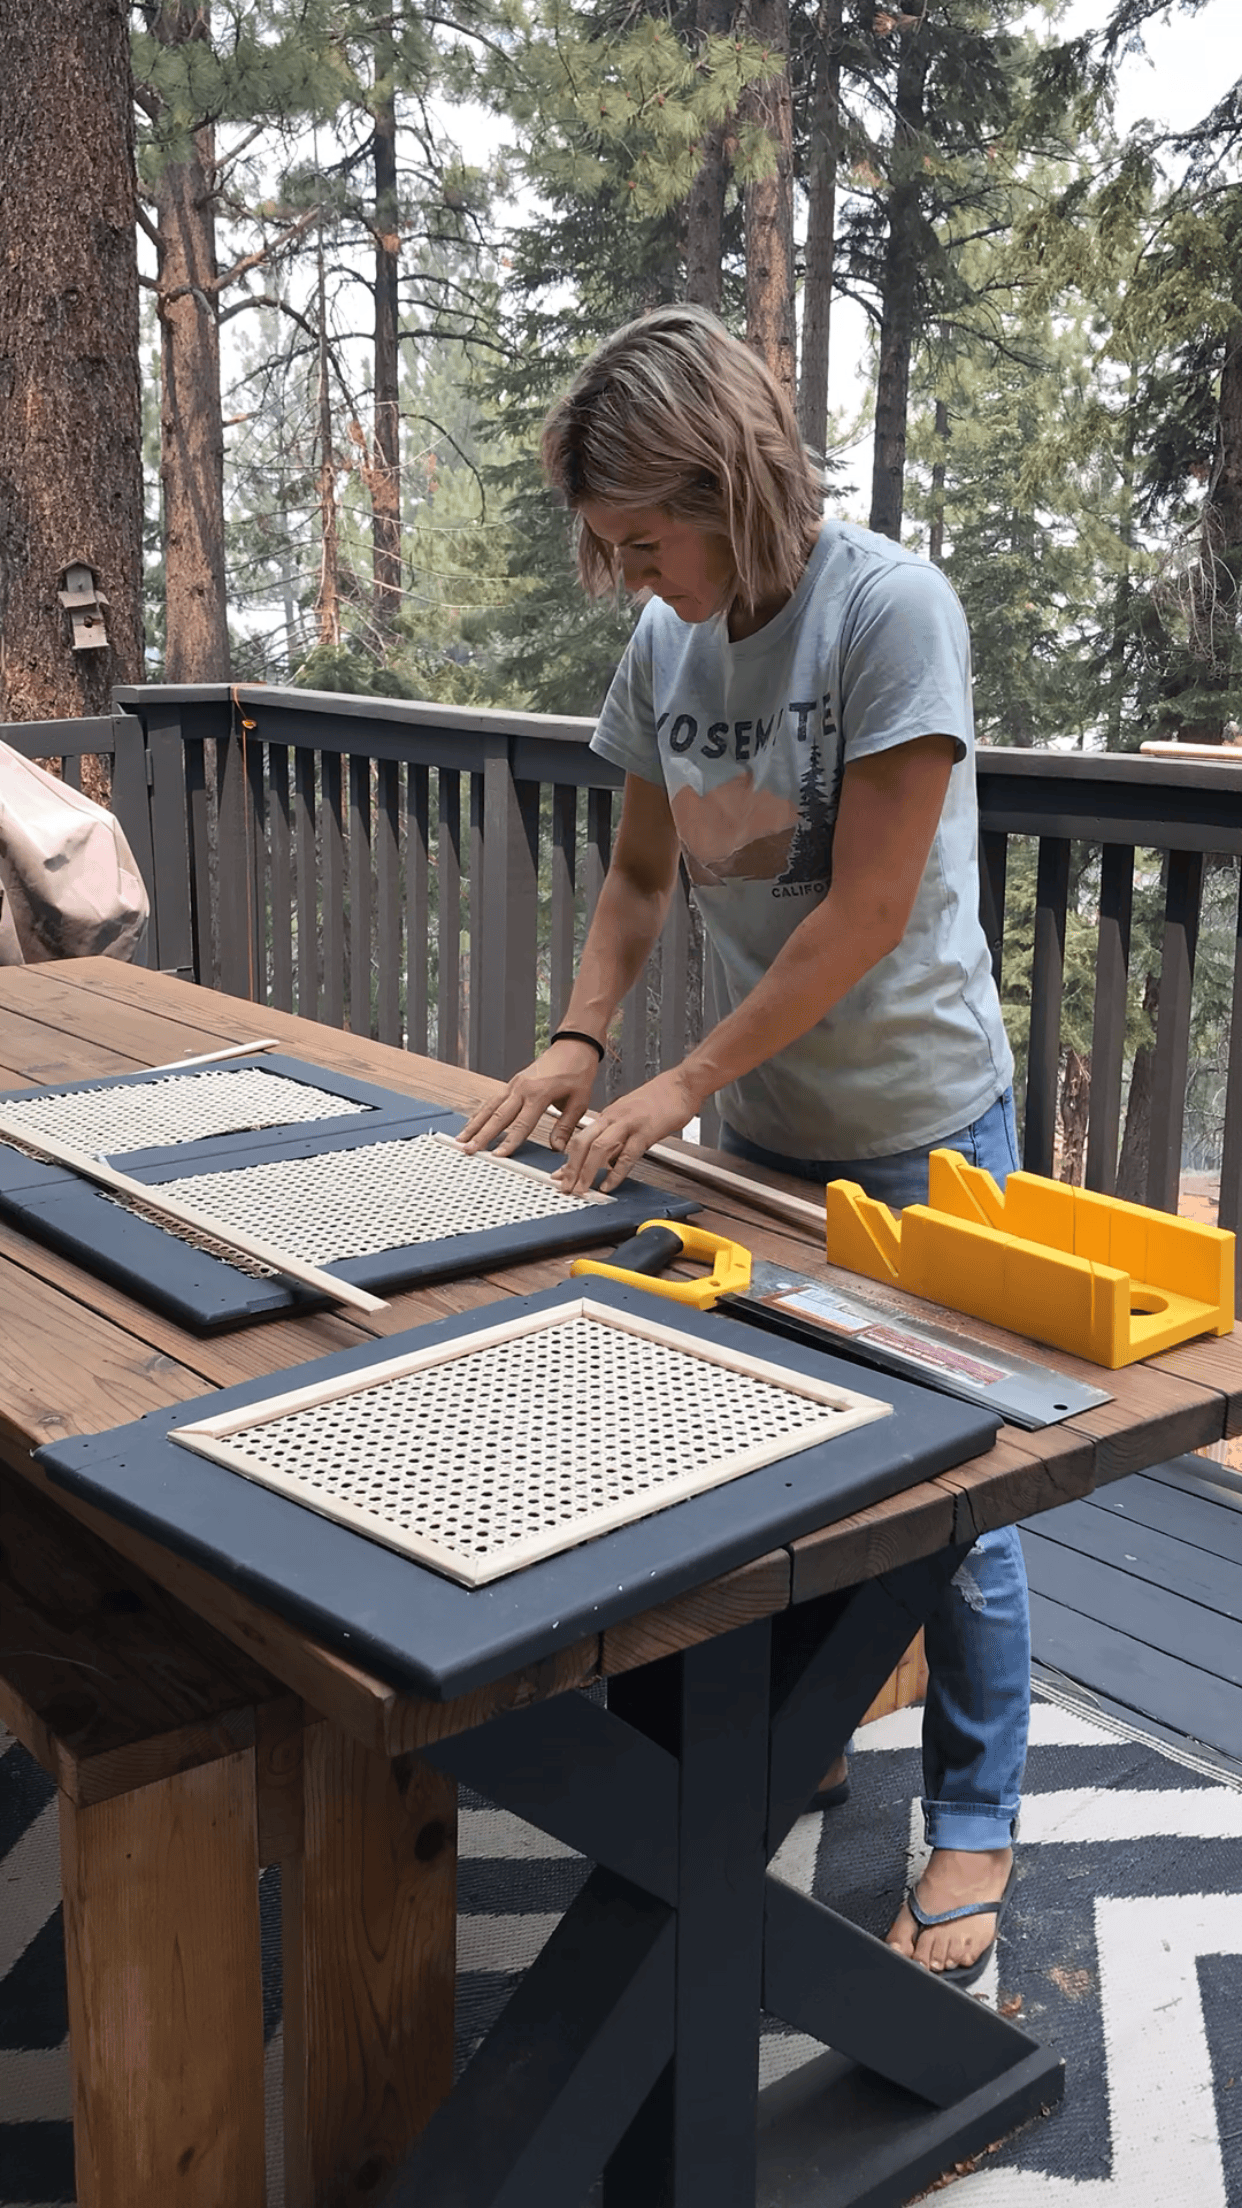
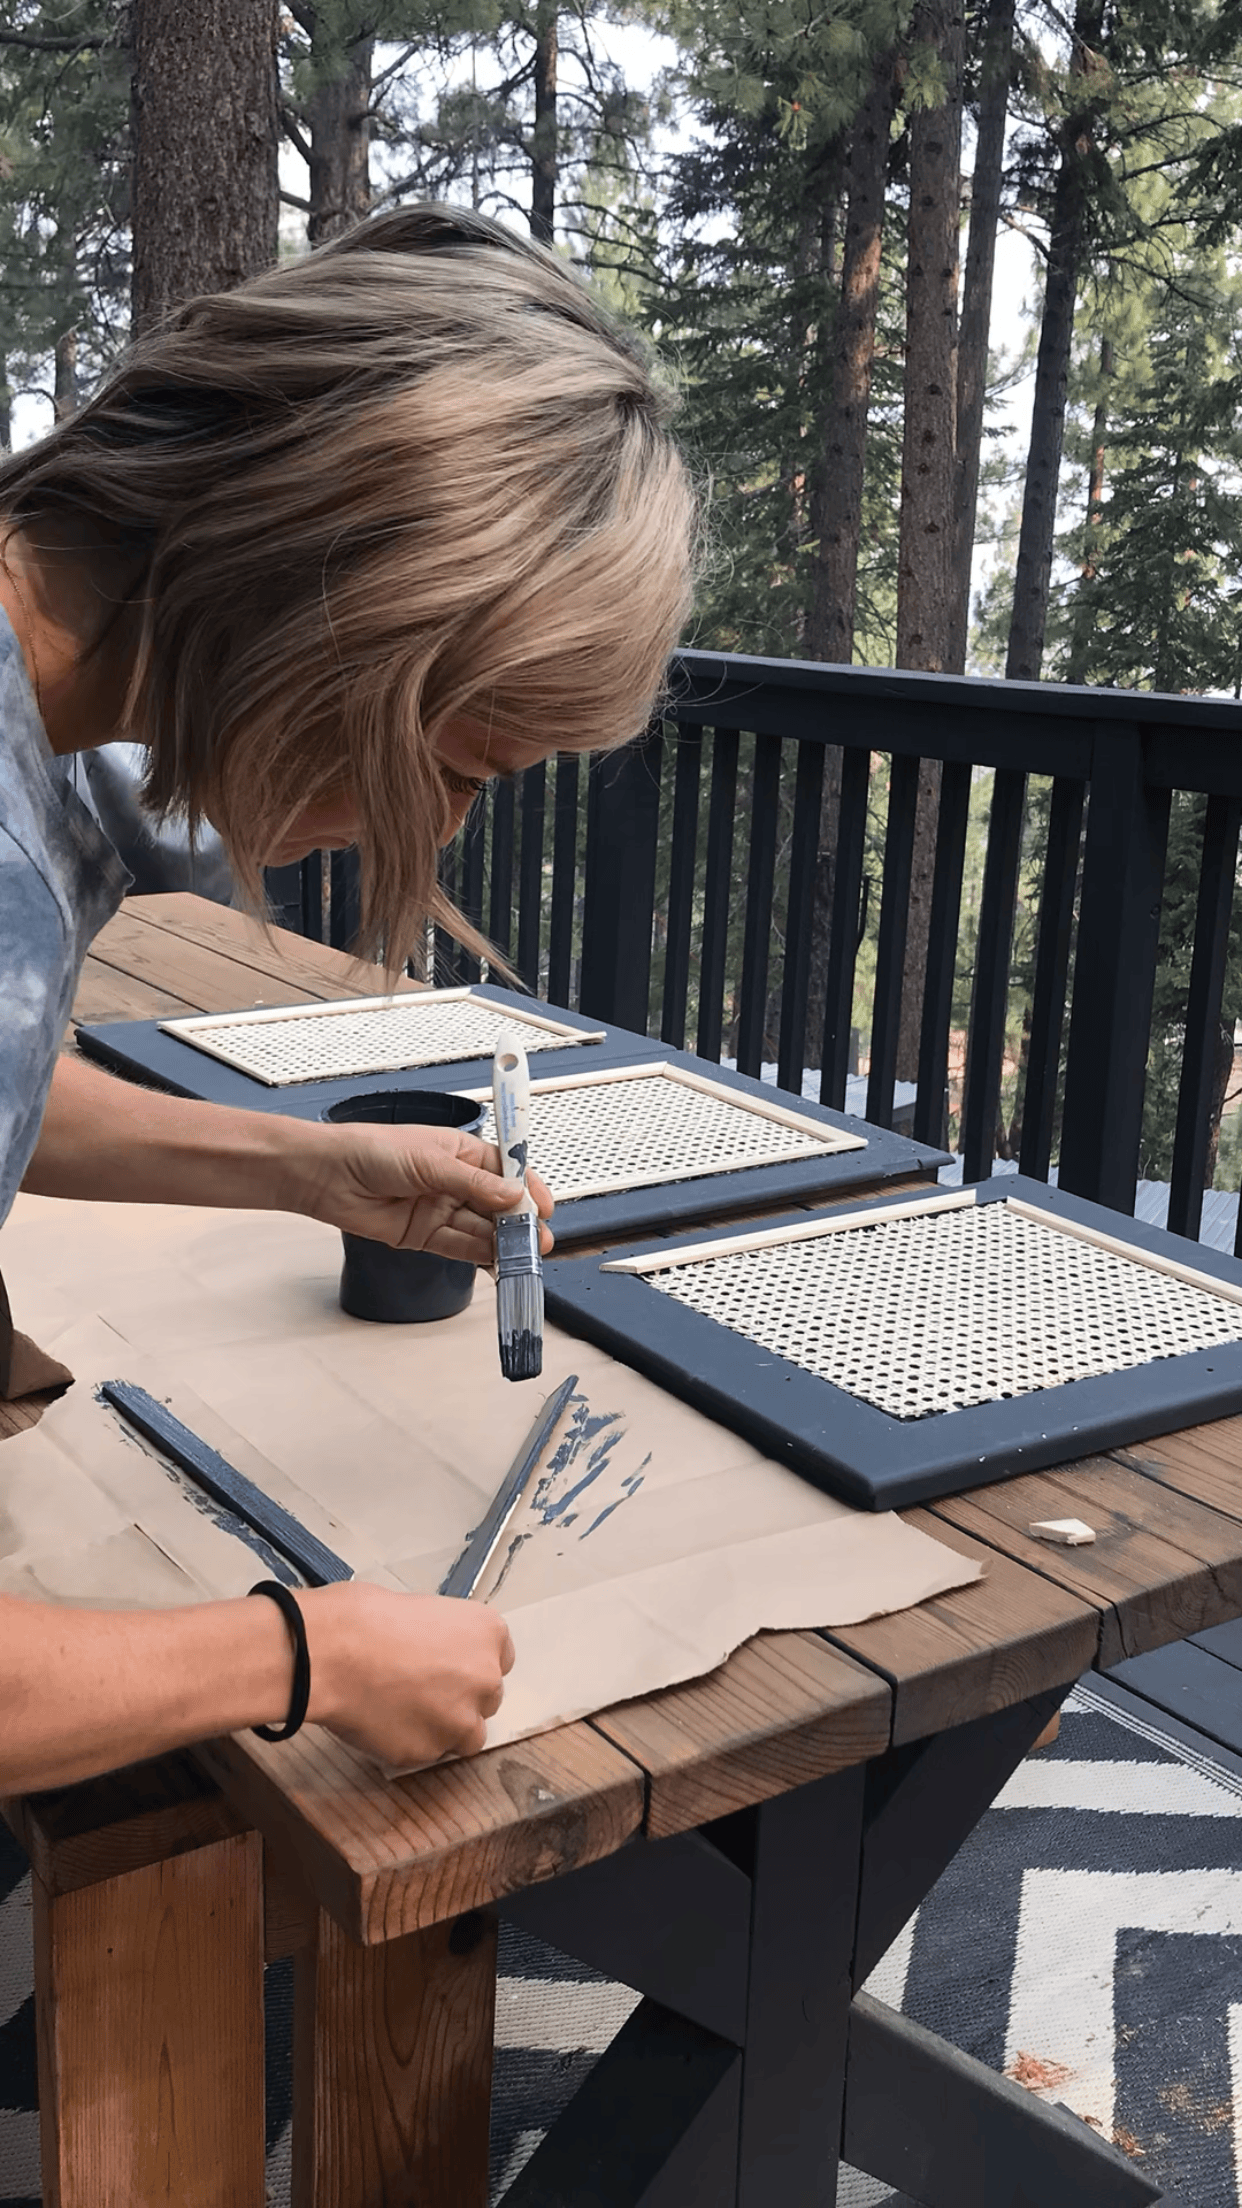
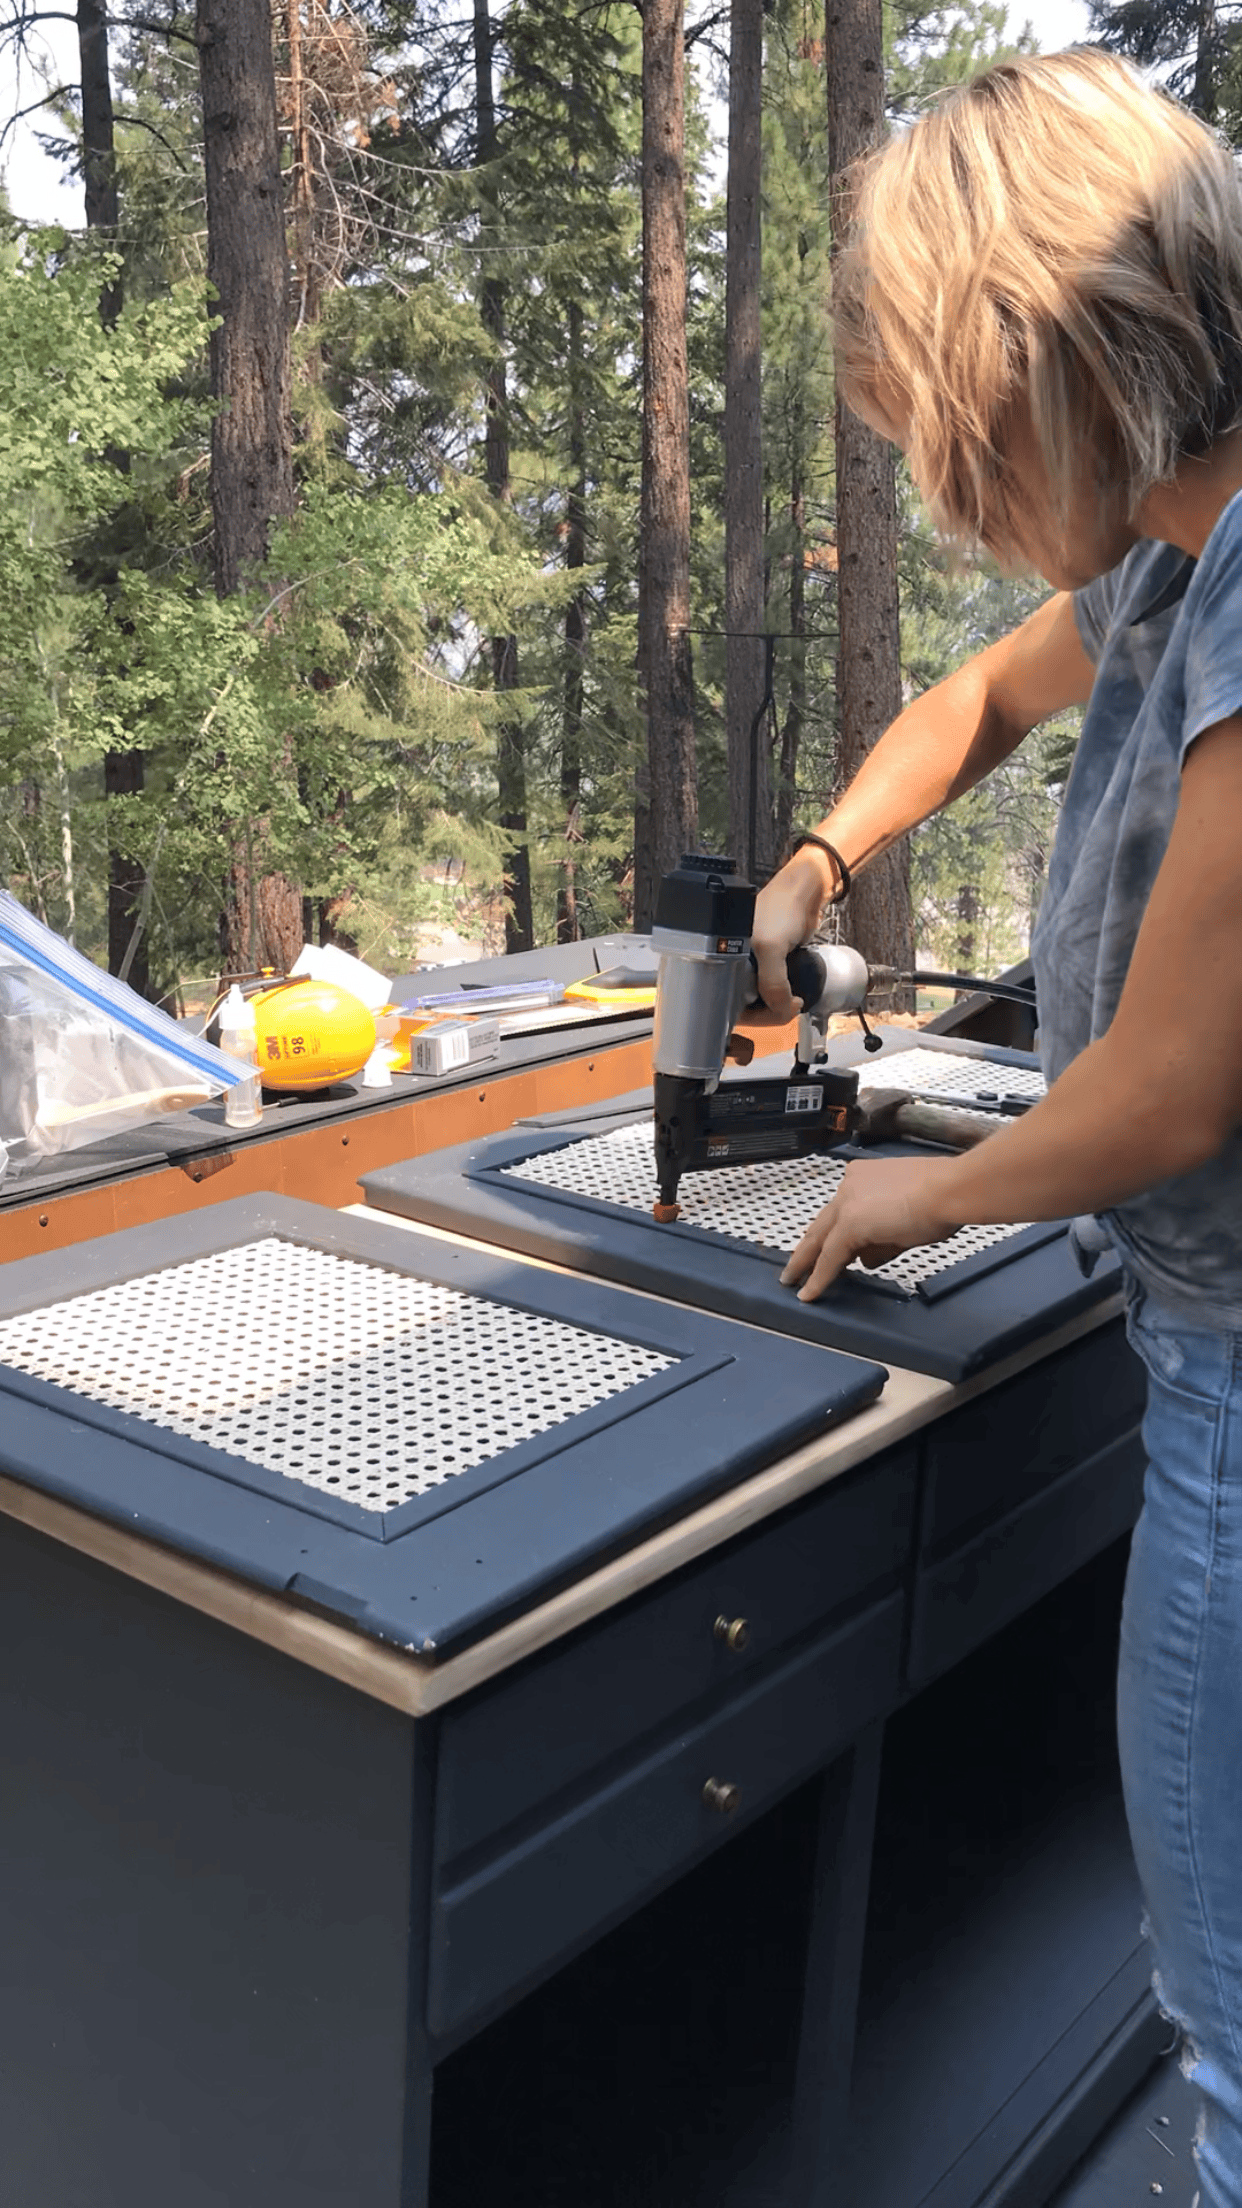
Next I had to caulk the tiny nail holes in the trim pieces, and then repaint the trim. I did one round of painting prior to attaching so that I wouldn’t have to paint the inside edge while it was attached and risk getting black paint on my new beautiful cane.


All that was left was reinstalling the hardware. Sounds easy, but this was the biggest pain in the butt! The thickness of the paint was just enough to create an issue for the doors closing. In my experience, hardware never reattaches quite the same, it always needs some tweaks. I shaved off some corners of the cabinet door to create space where it was getting caught, and perfecto! For the final touch, I treated the wood top with a furniture wax. This provided protection without changing the natural wood color.
Voila! From an outdated hutch to a modern farmhouse masterpiece!