


**This post is sponsored by Pergo. I received compensation for sharing my experience.
Installing new flooring is one of those changes that will make a big impact to the look and feel of your home. Replacing worn or stained floors can make a space feel cleaner, brighter, and more inviting. The color and texture also help set the mood, making a room feel cozy, calm, or airy. And the best part is, it’s easier and more affordable than ever.
I recently decided to replace the dirty old carpet in my son’s bedroom with luxury laminate flooring. At first, I was worried losing the carpet would make the bedroom feel less cozy. But I was so tired of cleaning carpet that I decided to go for it. It turned out amazing, it completely upgraded the room and actually made his room feel even more warm and inviting than before.

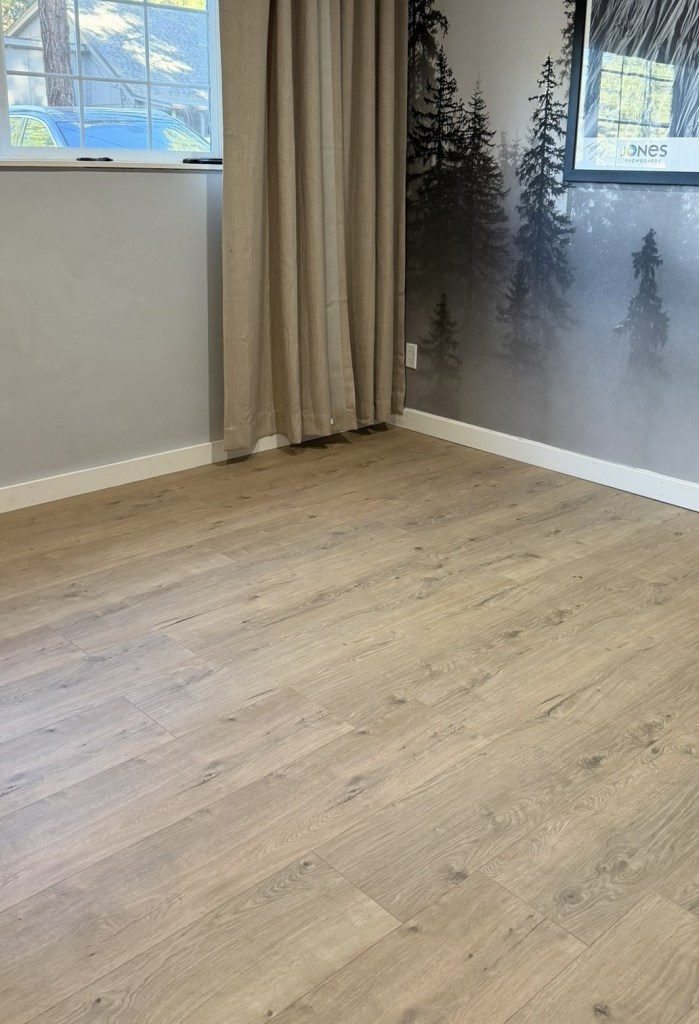
There are a lot of flooring options to choose from, with two of the most affordable being LVP (Luxury Vinyl Planks) and laminate. LVP is made from vinyl, while laminate has a compressed wood-fiber core. The decision came down to cost, durability, and ease of install. Laminate is often more scratch resistant and feels more like real wood. LVP is waterproof and some laminate products are also waterproof as long as it is installed properly. This luxury laminate Pergo Outlast flooring checked all the boxes for me; affordable, realistic wood look, waterproof and watertight seals, easy tongue & groove install with underlayment attached.
Steps
Prep: Remove the baseboards, trim, or anything that might be securing the old flooring down. Remove the old flooring and ensure the subfloor is clean, free of nails, and level
Starting the floor: Start at the back of the room, and work your way left to right. The tongue side of the plank will be facing the wall. Use spacers to keep a gap between the flooring and the wall around the room perimeter. If the flooring is installed tight against the wall, it will cause the pieces to pop apart over time.
Connecting the planks: Starting with the short end, take the plank and place the tongue into the groove. You will know it is connected properly when the seam is completely closed. Even if there is a minuscule crack, it’s not closed properly. You may need to tap the end of the plank for the seam to completely close.


Next, you hold the long end at a slight angle and place the tongue into the groove. You may need to give it a little wiggle. There will be a gap. Tap the long end until the seam is completely closed. The row of flooring will be about 1″ off the floor, don’t try to force it to lay flat.
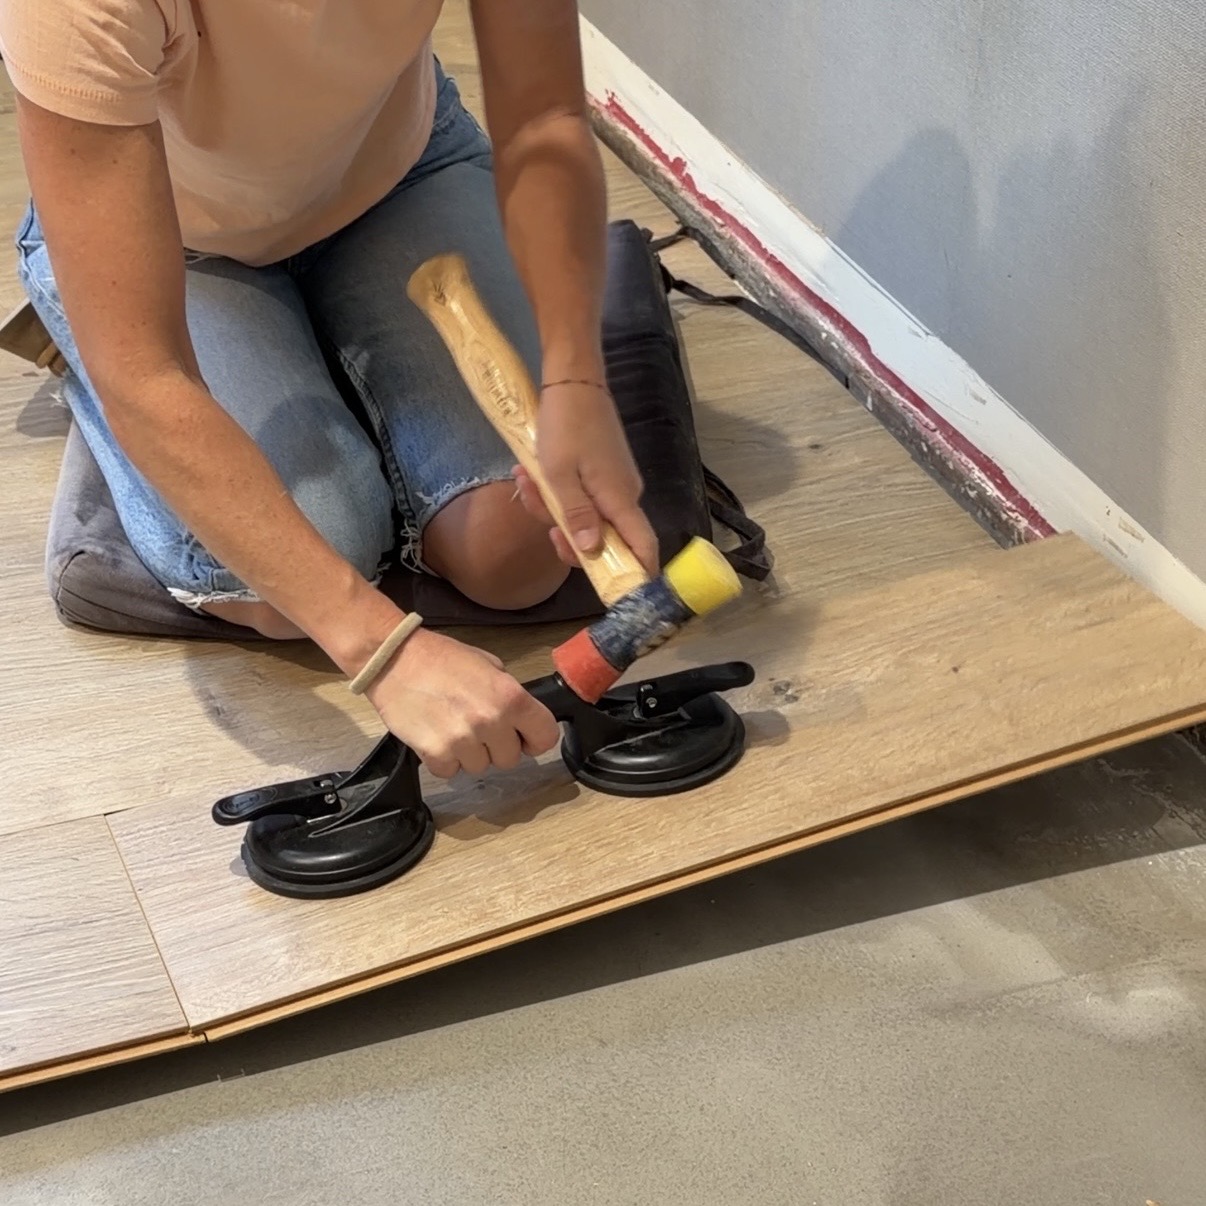
Finishing the end of the row: Complete the entire row following the same steps. Short end first, long end second. When you get to the last piece, the wall will be in the way of tapping the short end in. They make this tool so you can grasp the piece and fit in it.
Tightening the seams: When the entire row is laid and the seams are connected, go back through the row and tap the planks to tighten the seams as you gently press down. The floor should lay almost flat. This is how you can tell the pieces are connected correctly.

This pattern continues for the entire floor.
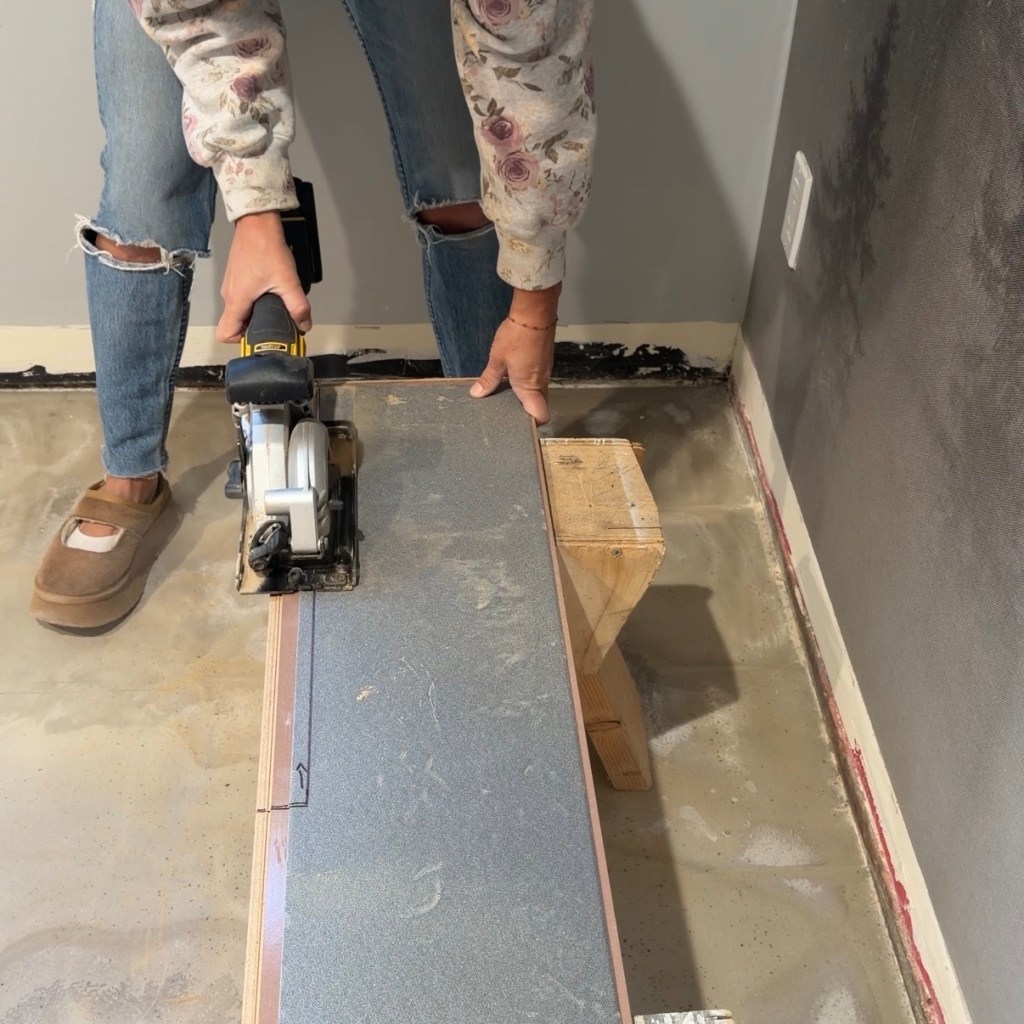
Making Cuts: I have found a compact cordless saw is great for making cuts. It’s lightweight and easy to use.
Laying flooring in doorways: You want the flooring to go under the trim. This means the trim should be removed or you will have a really difficult time sliding it in.
Tapping the planks: They make this tool that is designed so it won’t chip the edges of the flooring.
Defective planks: If there are any chips or cracks in the tongue and groove, do not use those pieces. They won’t connect properly which means eventually the pieces will separate and there will be gaps in your flooring.

Improper connection: If there is the tiniest gap in the seam, or if you have to use force on the planks, they are not connected properly. Pull them apart and check if there are chips in the tongue and groove. If there are no chips, make sure you are installing short end first and long end second. Lastly, sometimes it just takes a little wiggling and tapping to securely connect them.
Final steps: Once the floor is laid, reinstall the baseboard. This will cover the gaps around the perimeter of the room.
I love how fresh, clean and modern this bedroom feels. It took me two days to finish this install, doing a few hours at a time. And the price was amazing, for under $2/sq ft. I have no regrets making the switch from carpet to luxury laminate.
I hope you find this information useful, and it fills you with confidence to take on this DIY! As always, I want to conclude by saying that I am not a professional. I am a DIY home renovator and designer and am sharing the things I have learned in my renovation journey. If you have specific questions, it is always best to consult a professional.
If you have any comments, feedback or questions I’d love to hear below!