


Any project that creates a large hole in your exterior is a bit intimidating. But surprisingly, replacing a front door is actually pretty straightforward. I’m going to walk you through the steps I took and share what I learned after completing three DIY front door installs. Before we get to the installation, there’s one important step: choosing the type of door, because the type you select determines how the installation works.
Slab Door: A slab door is simply the door itself. It installs inside your existing door frame and attaches using hinge pins.
Pre-Hung Door: A pre-hung door comes as a complete unit that includes the door, jambs, threshold, and the hardware. Installation requires removing your existing door and frame, along with trim and possibly some siding.
Pros & Cons of a Slab Install
A slab install can be very simple. In the best-case scenario, you: 1. Remove the hinge pins, 2. Lift out the old door, 3. Slide the new door into the hinges, 3. Replace the hinge pins. Done.
On the other hand, you could run into issues that complicate it. Things like needing new hinges or new pins, a slightly-off door size that needs to be trimmed, door handle and lock not fitting in the existing holes. Placing a new door into an old frame could end up feeling like a square peg in a round hole.
Pros & Cons of a Pe-Hung
A pre-hung installation requires more work upfront because you’re removing the entire door frame. However, it can actually lead to fewer complications and a better overall fit, since the door comes perfectly measured within its own frame. The hardware is also typically installed already, and the holes for handles and locks are precut.
Why I Chose a Pre-Hung
The tutorial I’m sharing here is for a pre-hung door installation. I chose this option because our house was built in the 1970s, and the existing door frame and threshold were pretty worn out. Our home has also shifted over time, so nothing is perfectly level anymore. For me, the decision came down to two things:
- I was worried a slab door wouldn’t fit well in such an old frame.
- It wouldn’t look right to install a brand-new door while leaving the old, beat-up frame in place.
Tools & Materials Used
The door I installed is from Knockety Doors, you can find it here.
You can find links to all the products I used here, or the individual links below.
- Pry bar
- Hammer
- Drill
- Reciprocating saw or Oscillating saw
- Safety glasses
- Caulk gun
- Level
- Square
- Flashing tape
- Silicone caulk
- Spray foam insulation
- Framing nail gun (optional- for replacing exterior trim)
- Finish nail gun (optional- for replacing interior trim))
- Saw (optional- for trim replacement)
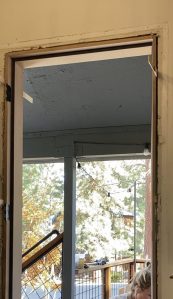
Removing the Old Door

1. Remove the hinge pins and lift the door off.
Hot tip: If the pin is stuck, hammer a narrow screwdriver into the bottom of the hinge to push the pin out from the top.
2. Remove the interior and exterior trim. You can either reuse the trim after installation or replace it with new trim.

3. Remove any nails or screws holding the frame in place.
4. Cut remaining fasteners.
Use an oscillating or reciprocating saw between the door frame and wall to cut any hidden screws or nails.
5. Remove the frame.

Hot tip: Instead of removing the entire frame in one piece, cut it into sections. This makes it much easier to pull out. (I learned this the hard way.)
Prepping the Rough Opening

Remove any insulation, caulk, glue, nails, or leftover materials from the previous door.
You want the rough opening to be:
- Smooth
- Clear of obstructions
- As straight and level as possible
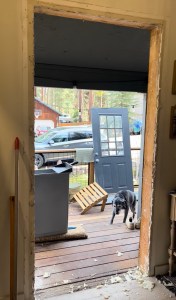
This ensures the new frame can slide into place without getting caught. When finished, you should see just the house frame remaining.
Installing the New Door

1. Dry fit the frame. This is just to confirm it fits the opening, and then you will remove it.
2. Add flashing to the door sill (the bottom of the opening) to protect against water damage. You can also extend flashing up the sides if the door is exposed to heavy rain, snow buildup, or splashing.

3. Apply silicone sealant or caulk to the sill. You can also run a bead along the sides and top if the door frame contacts the house frame directly.
4. Place the frame into the opening and work it into position.
5. Use wood shims to fill gaps between the door frame and house framing. This helps create a tight fit and allows you to adjust the leveling.
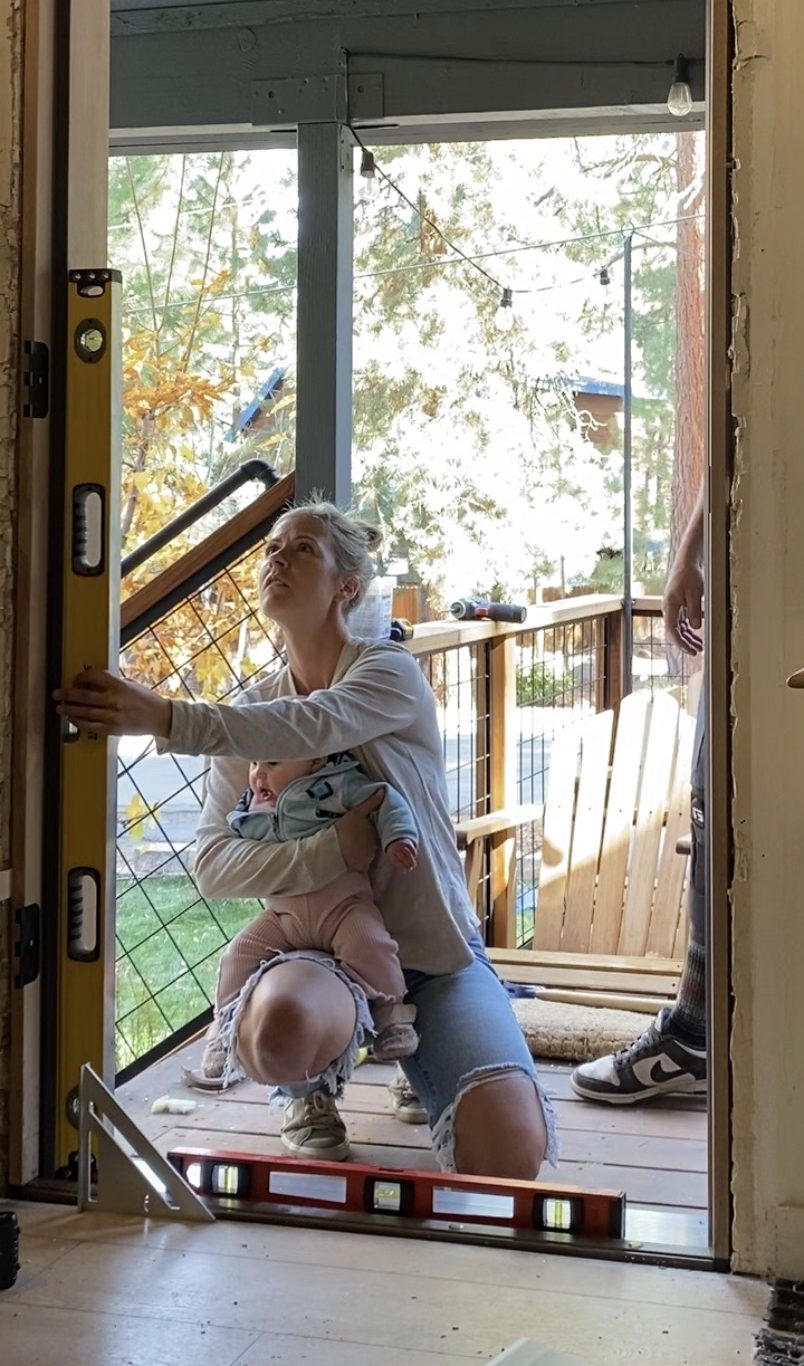
6. Check the frame with a level and square to make sure everything is straight on all sides.
7. Secure the frame by screwing it into the house framing.
8. Hang the door by attaching it with hinge pins.
Note: Some installation instructions recommend placing the door and frame in together as one unit. I chose to install the frame first and then hang the door separately because it was much easier to handle and lift.
Finish Work
- Fill gaps with spray foam insulation between the door frame and house frame.
- Reinstall or add trim on both the interior and exterior.
- Fill nail holes and caulk any gaps between the trim and walls.
My Takeways
A slab door is a good option if you have a newer home without any leveling or squaring issues and a door frame in good condition.
A pre-hung door is a better option for older homes where things may not be perfectly straight or evenly measured. It’s also ideal if the jambs or threshold are worn out, have multiple layers of paint, or just look dated.
The right tools make the job much easier.
Making sure the door is level and square is critical. Never screw anything in assuming it’s “good enough.”
Shims are your best friend. Let them do the work of getting everything aligned.
Door quality matters. A well-made door will have tight seams, no visible glue, solid materials (hardwood, steel, or fiberglass with a foam core), and clean construction with no cracks or knots.
This isn’t something most homeowners replace often, so investing in a high-quality door is worth it.
Replacing a front door might seem like a big project at first, but once you understand the process, it’s a very doable DIY. Whether you choose a slab or a pre-hung door really comes down to the condition of your existing frame and how much work you’re willing to take on. After installing three doors myself, the biggest lesson I’ve learned is to take your time with the prep work—making sure everything is level, square, and properly sealed makes all the difference in how the door functions and looks. With the right tools, a little patience, and a quality door, this is a project that can dramatically improve both the curb appeal and functionality of your home.
I hope you find this information useful, and it fills you with confidence to take on this DIY! As always, I want to conclude by saying that I am not a professional tile installer. I am a DIY home renovator and designer and am sharing the things I have learned in my renovation journey. If you have specific questions, it is always best to consult a professional.
If you have any comments, feedback or questions I’d love to hear below!

Leave a Reply