


Do you have some old furniture you want to revamp to fit better with your decor? Or maybe you want to take on a side job to make some extra cash? Whatever your goals, it can be intimidating knowing where to start when it comes to flipping furniture. But I got you covered! I’m going to share the basic need-to-know info so you can get started on your next DIY!
Where to Source Furniture
It goes without saying, the less you spend, the more profit you make. Garage sales, thrift stores and Facebook marketplace are great places to start. I’ve scored several items on the side of the road and at the dump as well. Can’t beat free!
Profit Margin
When it comes to the cost of the item, I try to stick to a 75% profit margin for buying & selling. That means if I spend $50 on something, I expect I can get at least $200 for it. I also consider how much time the project will take me. On that same piece for $50, I’d want a project to take no longer than 3 hours which is a $50/hour. Of course, you don’t always know what problems might arise or how much the item will sell for. But doing a quick profit calculation before you buy an item will help you know if/when you pull the trigger on a purchase.
Profit Magin: Cost of item x 4 = goal sales price. Example: Item is $50 x 4 = $200 goal sale price.
Cost of Labor: Goal sales price divided by hours needed. Example: $200 sales goal/ 3 hours = $50 per hour.
What to Buy
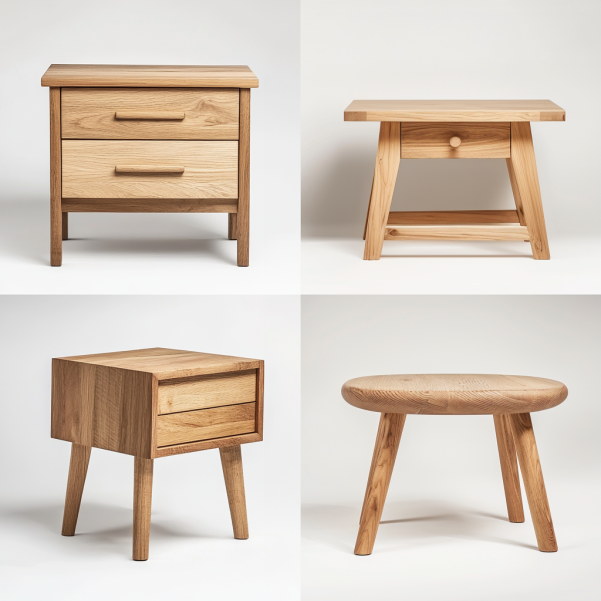
Look for items that are solid wood. Many furniture pieces have an MDF core (basically tiny pieces of wood glued together) with a veneer (A thin layer of “prettier” wood bonded to the MDF core.) MDF pieces do not sand well and can be easily damaged during the sanding process. They are also less durable, harder to repair and are valued less than solid wood.
Next, check out the condition of the furniture and the detailing. Furniture in good condition will require less extensive repairs, making the refinishing process smoother and easier. Some minor cracks here and there can be filled with wood filler pretty easily. But stay away from structural issues like broken drawers and legs, and extensive discoloration or water damage.
Prep Work
If you’re going to put in the time & effort, you want that piece to withstand the test of time. Prep work is hands down my least favorite part of the process, but absolutely necessary to getting a long lasting and durable result. First, clean the piece to remove any dirt or residue that will interfere with sanding or prevent paint from adhering. Next is typically sanding. If you are looking to paint the item, a rough sanding will help the primer adhere. If your plan is to stain the item, you will need to sand down to the wood grain. (This may require use of a stripper to remove thick varnish or paint.) After one more wipe down to remove any dust or residue, your surface should be smooth, have even coloring and will be ready for the next step.
If your next step is painting, start with a primer. This will ensure the paint adheres and prevents chipping. When it comes to paint, I always use an enameled paint on furniture. This creates a hard durable finish that better withstands wear and tear. As a top coat/sealer, I use a water based polyurethane. This prevents wood from yellowing, protects the wood from stains and makes it easier to clean.
Choosing the Finish
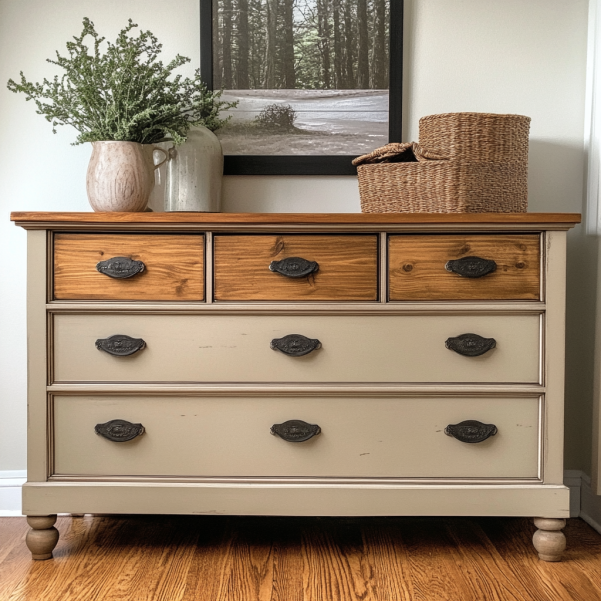
There are two parts to think about here. The ease of work and aesthetic. My favorite quick & easy finish is a paint & stain combo. Only sanding a portion of the piece will save you time but you’ll still have the natural wood element. Think about painting the dresser base and staining the drawer faces. Painting a table or cabinet base and staining the top.
The aesthetic of your piece determines whether it will sell or sit, whether buyers will lowball or pay asking price. If this is a piece for your home, you probably already have a look in mind. You can’t go wrong choosing colors for a piece in your home. It’s all about personal style and preference. But if you are looking to sell for top dollar or don’t have an idea in mind, get some inspiration from your favorite retailers to see what the trending paint and stain colors are.
Selling
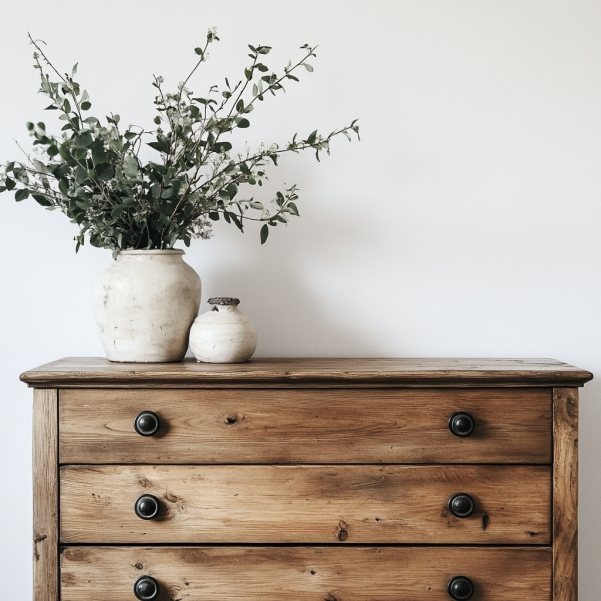
First, get your item ready to sell by staging it for the photos. Choose a neutral uncluttered background like a white, gray or beige wall. Use natural light if possible, if not make sure light is evenly distributed so it clearly illuminates the item. Photograph multiple angles and close ups of any details or blemishes you want to identify. Add a few decorative items to style it.
Next, list the item at the goal price. You should have a number in mind based on how much you spent on the item, but also take into consideration how much similar items are listed for in your area. Depending on how quick you want to sell the item, you can incrementally lower the list price to attract more interest.
By following these guidelines, you will find that flipping furniture is not as intimidating as it may seem. Start small, don’t expect your first piece to be perfect and don’t give up. It can be very enjoyable and satisfying giving old pieces a new life, so give it a try!
If you have any comments, feedback or questions I’d love to hear below!

2 responses to “Beginners Guide to Flipping Furniture”
-
Thanks for sharing the informative article
-
I am so glad you found it helpful!
-
2 thoughts on “Beginners Guide to Flipping Furniture”
-
Thanks for sharing the informative article
-
I am so glad you found it helpful!
-
Leave a Reply